I’ve moved my blog.. check out my latest posts at happyharveyhome.com 🙂 See you there!
I’ve Moved!
Reply

I’ve moved my blog.. check out my latest posts at happyharveyhome.com 🙂 See you there!
 I’m taking advantage of my day off today and giving our pup some extra loving by making some of his favorite dog treats. I don’t make homemade treats very often (usually once or twice a year for special holidays) but with our little man in the house Toby doesn’t get as much attention as he used to and so its nice to spoil him when we can. So here is a recipe for some homemade dog treats that are Toby approved (and hey its all natural and people ingredients so you can even eat them too!)
Toby’s Treats
Original recipe available here.
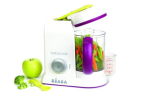
 Last night I posted this picture of my latest creation (steamed and pureed broccoli) for my little man’s breakfast and it prompted a lot of questions about my baby food making process. I’ve found it to be a pretty easy process so far (once I figured out his schedule with both bottles and baby food) and so I haven’t found the need to buy baby food yet which has saved us a ton of money in the long run. Besides, don’t you wonder what they put in those baby food jars which make them last so long? I think I’ll stick to giving our baby pure nutrition and simple ingredients for now. So to get started I usually make and introduce 1-2 new food items a week (depending on how much I have in the freezer and what I have going on that week). Last week was blueberries. This week we are introducing broccoli! Here’s a quick look at everything I use to make baby food:
Ok so yes, you can use your Vitamix or a regular blender or food processor however most everything I read about making your own baby food encouraged steaming instead of boiling the food to preserve the nutrients. Baking is also another good option but who has time to preheat and use your oven every night? Also when making small quantities it just seems simpler in my opinion for clean up and for blending to just have one small machine that does it all instead of steaming in a basket and then transferring to a large, oversized Vitamix. It took a little convincing to explain to my husband why I “needed” this but now he is 100% on board and we both love it!
I don’t know how I would have even started without this gem! This “cookbook” goes through the order of solids (yes, there are certain foods appropriate by age for your baby), how long they need to be steamed, if you need to buy organic or if fresh or frozen is ok. It also talks about the health benefits of each different food as well. I literally use this book for every new food I introduce to our little guy. If you don’t want to buy a book I’ve also heard a ton of great things about the Wholesome Baby Food website. It also lists the age appropriate for each food as well.
 Oxo Tot Baby Blocks Storage Containers – 2 oz
For food storage I recommend these Oxo Tot containers. They are freezer and dishwasher safe. I like them better than ice cube trays because I can grab one for daycare and go and not have to defrost or pop out food and move it to different containers. I can literally store and feed from these plastic containers. Perfect.
 Munchkin White Hot Safety Spoon
Ok so yes I do realize that you should be able to judge how hot or cold your baby’s food is without a spoon that turns white when it gets too hot.. but why guess… why wonder. These spoons are just another added safety net in protecting my baby and helping make life just a little easier.
 Bumkins Waterproof Starter Bib
We introduced waterproof bibs when we started feeding solids instead of using the cute cloth Aden + Anais cloth bibs I use when giving our baby a bottle. These bibs are waterproof and make clean up a breeze. I simply run them under the sink after mealtime and then hang to drive. They require little fuss, which I love, and still have lots of cute patterns.
 Culturelle Priobiotics for Kids
About a month after we started solids our little guy had constant boopy diapers (about 6-8 a day) and developed a horrible diaper rash. Our pediatrician recommended giving him a probiotic once/day to help his body process the foods he was eating. This particular probiotic helps to “support a child’s health by fostering the proper balance between good bacteria and the non-beneficial bacteria that resides in the gastorintestinal tract…it alleviates occasional digestive distress while supporting a child’s natural defenses.” This particular type comes in the form of a solid which we mix half of a packet a day in with some of his cold fruit.

Fisher-Price Healthy Care Deluxe Booster.
Last but not least is our high chair. Our kitchen is probably average size but it doesn’t really have a great corner or a lot of extra space for a large or bulky high chair. We have a small, round table with 4 wooden chairs in our kitchen and we decided early on to designate one of these chairs for our little man’s “high chair.” I’ve loved this seat. It’s a great space saver, its plastic (which comes in handy for so many reasons), and its portable. If you have extra guests and need the seat you can just unclick the two straps and voila! no more high chair. We’ve also taken this to the grandparents house and to restaurants. Portable, functional and pretty darn attractive- I’d say that’s a win!
 I know its only Wednesday but its been a long week, ok maybe its been a long month. Regardless tonight was cookie night because after dinner and a glass of wine I wanted a sweet treat to top off the evening. I’m not one to normally eat gluten free but my mother-in-law was raving about these cookies this weekend and I’m always up for trying out a new recipe so I decided I needed to put this one to the taste test.
They are a sweet mixture of chocolate and peanut buttery goodness. For gluten free and gluten full eaters – indulge and enjoy! 🙂
Gluten Free Peanut Butter Chocolate Chip Cookies
Ingredients
Preheat oven to 350 degrees. Mix all ingredients together and then scoop onto baking sheet. Bake 10 minutes and then let cool for 5minutes. Enjoy!
Original recipe from cookingclassy.com

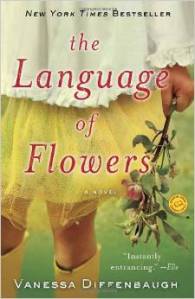 “Who is Vanessa Diffenbaugh?” my husband would ask me with a huge grin on his face. “Huh? I have no idea.” Thinking he was asking me about his latest Facebook friend request. “She’s the author of the book you’re supposed to be reading, the book that is supposed to be ‘Instantly entrancing.'” Oh right. That Vanessa Diffenbaugh. One of my book club books, the Language of Flowers sat out on our coffee table for almost a month begging to be read yet I constantly found myself passing it up for some other interest or pressing demand. Finally I picked up this book about a week ago (just in time for my book club meeting only a couple days away) and honestly I couldn’t put it down. I’m not often drawn to anything having to do with flowers, but the interweaving of the Victorian language of flowers used to convey romantic expressions, and the story of Victoria, a young girl emancipated from the foster care system with a gift for helping others, proved to be a story I could not put down. In the end Victoria finds that while she not only helps her customers with the flowers she chooses for them, she finds herself confronting her past with the opportunity for a second chance at happiness.
Who is Vanessa Diffenbaugh? A gifted and talented author who instantly captured this non-flower loving reader through tears, tragedy, hope, family, romance, redemption and the Language of Flowers.
Our little man turned 8 months yesterday and is at about 8 lb 8oz. While we still have time for him to continue to use his infant carseat, we’ve begun the process of researching convertible car seats. And when it comes to buying any large baby products I often refer back to one of my favorite “new parent books” Baby Bargains.
Since our copy was a hand me down from a friend and is outdated by a couple years I’m thankful for the Baby Bargains blog and website. Here is what they say is everything you need to know about convertible carseats.


 Around 22 weeks our little man began a 4 hour feeding schedule which was great for me while I was breastfeeding and great for daycare (less bottles to pack). Now at 35 weeks we’ve adapted our 4 hour bottle schedule to also include solids. I had the hardest time trying to find the perfect time to feed our little man solids so that he would actually be hungry enough for them but not exhausted and ready for a nap. So of course there is no perfect time for everyone but there is the time that works best for you and your baby. Since your little one is still getting their nutrition from their milk/formula you don’t want to decrease their bottles but you still need to find a time when they are ready to eat and not ready to sleep. For our little guy an hour after starting his bottle is best when trying to get him to eat solids. Not right before, during or after his bottle (we tried all of that!), not right before nap time (again a big failure), but 1 hr after he starts his bottle which is right in the middle of his current 2 hour wake time. He didn’t eat much at first but he’s slowly eating more and more and those solid meals are become more of a norm and less of an optional part of our day.
4 Hour Schedule (with solids) – At Home / Weekends
4 Hour Schedule (with solids) – At Work & Daycare / Weekdays
*Our little guy is still not a huge solids eater. At 8 months he is eating about 2 oz total of baby food at each meal.
I’ve been waiting for months (ok maybe weeks or days) for Tom + Chee (the new grilled cheese and tomato soup restaurant) to open up near my office. A friend and I attempted to go there again today and it was still not even close to being open. Since it’s rainy and cold outside I finally decided its time I went ahead and made some myself. This is my favorite recipe for some thick and creamy tomato soup (best served with a hot grilled cheese)! Enjoy!
Creamy Tomato Soup
2. Add sun-dried tomatoes, canned tomatoes, chicken broth, sugar, salt, pepper, oregano and basil. (If you’re adding red pepper flakes, add them now)
5. Add additional salt and pepper to taste and then divide soup among bowls. Garnish each serving with a sprinkle of shredded Parmesan cheese and a fresh basil leaf if desired.


It’s been raining all week and so its about time for some warm comfort food in the form of a good soup. Here’s a recipe that even the pickiest eater can’t complain about.. Cauliflower soup by the Pioneer Woman. Enjoy!
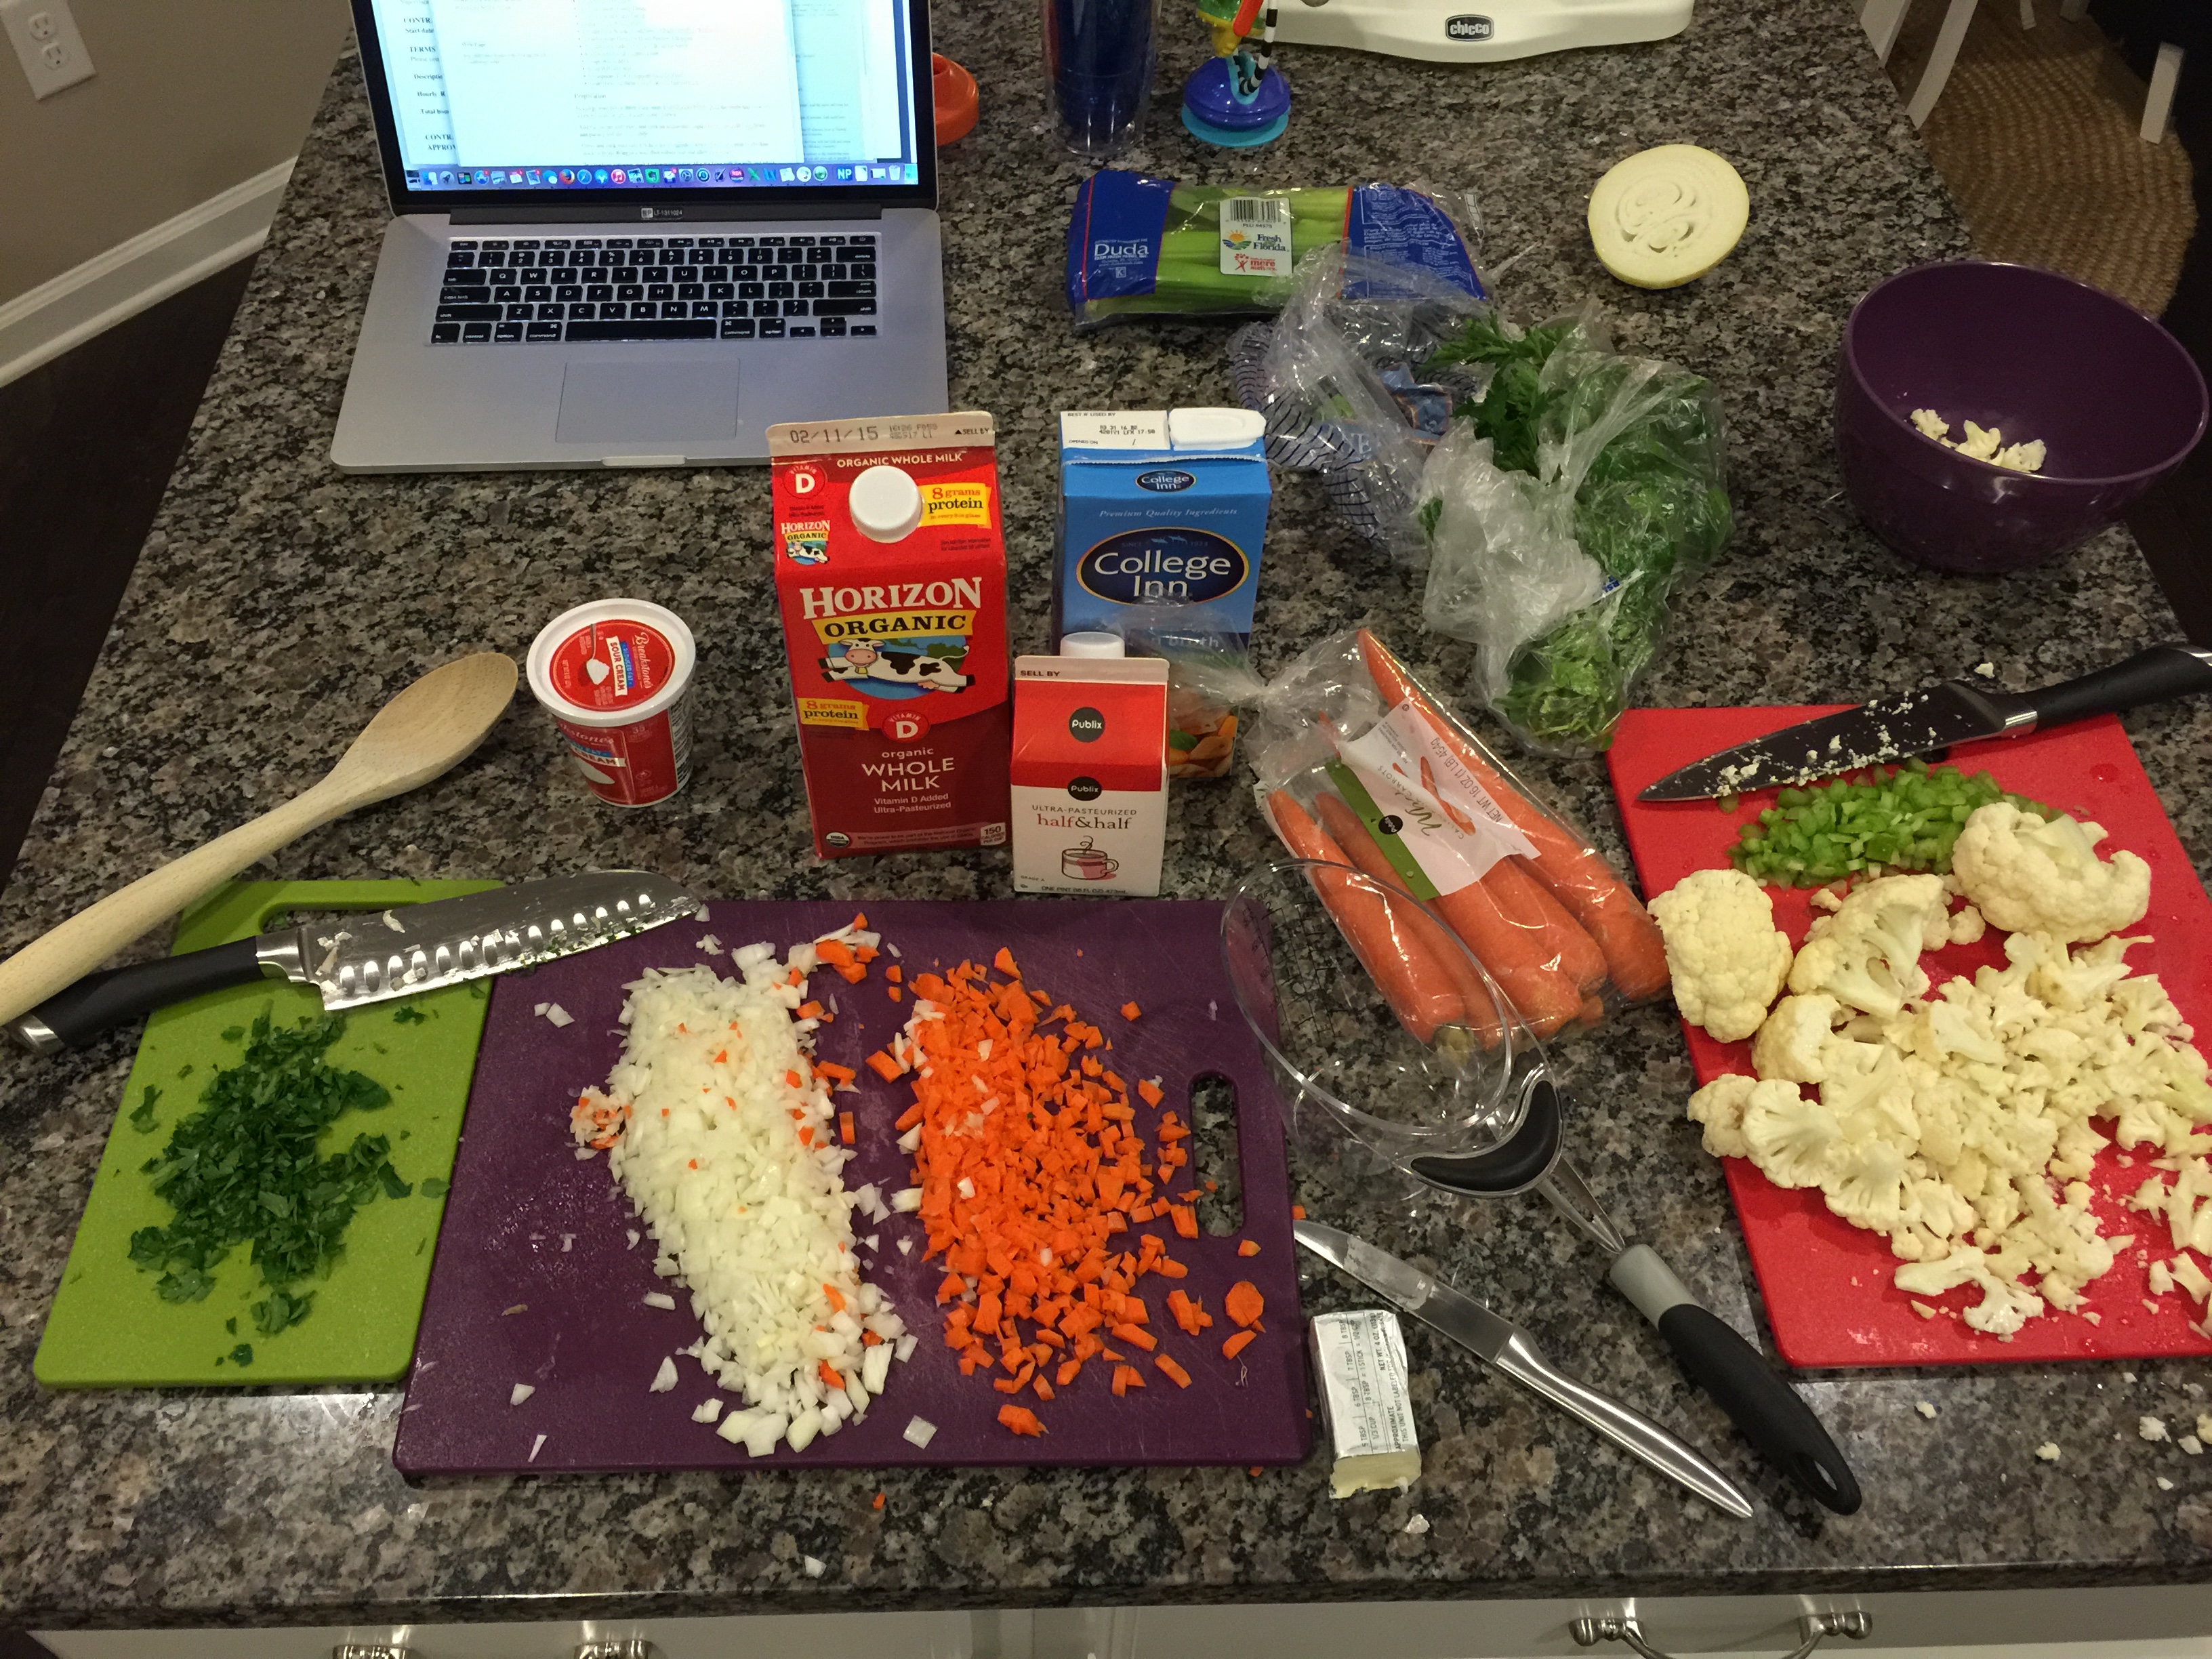
Ingredients
1 stick Butter, Divided
1⁄2 whole Onion, Finely Diced
1 whole Carrot Finely Diced
1 stalk Celery, Finely Diced
1 whole (to 2 Whole) Cauliflower Heads (roughly Chopped) 2 Tablespoons Fresh Or Dried Parsley, Chopped
2 quarts Low-sodium Chicken Broth Or Stock
6 Tablespoons All-purpose Flour
2 cups Whole Milk
1 cup Half-and-half
2 teaspoons To 4 Teaspoons Salt, To Taste
1 cup (heaping) Sour Cream, Room Temperature
Preparation
In a large soup pot melt 4 tablespoons butter. Add the onion and cook for a few minutes, or until it starts to turn brown.
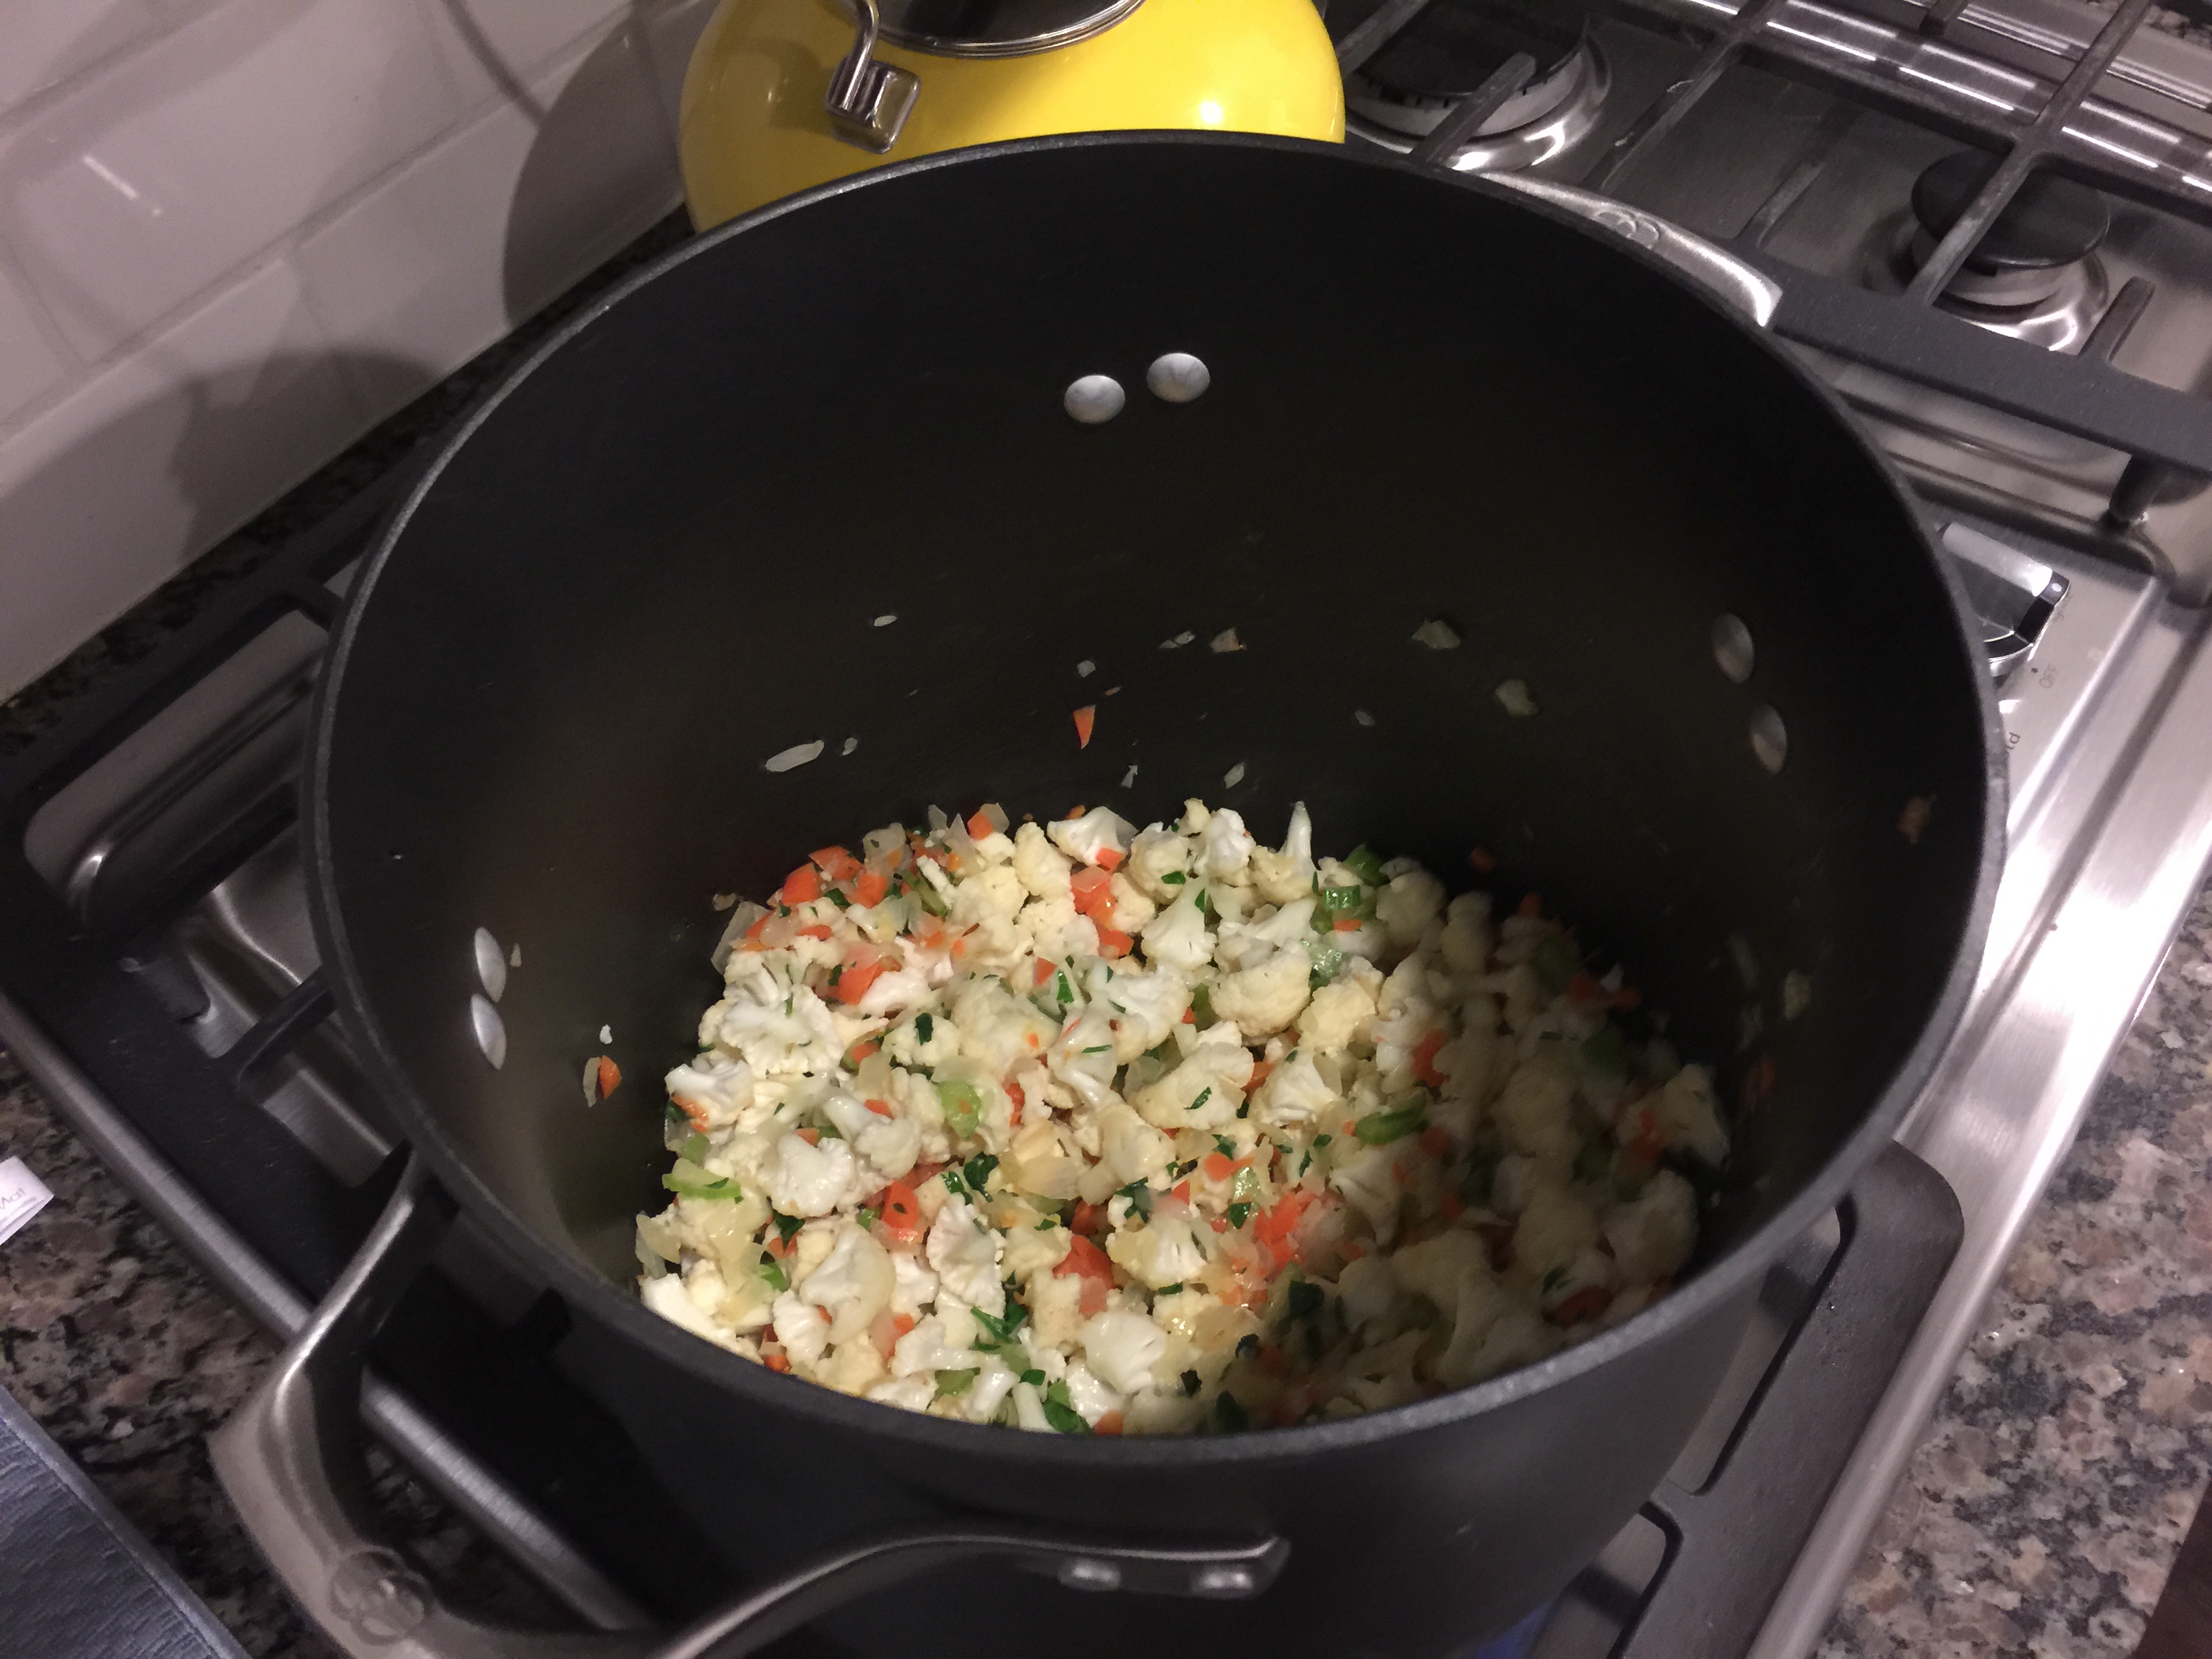
Add the carrots and celery and cook an additional couple of minutes. Add cauliflower and parsley and stir to combine.
Cover and cook over very low heat for 15 minutes. After 15 minutes, pour in chicken stock or broth. Bring to a boil, then reduce heat and allow to simmer.
In a medium saucepan, melt 4 tablespoons butter. Mix the flour with the milk and whisk to combine. Add flour-milk mixture slowly to the butter, whisking constantly.
Remove from heat and stir in 1 cup half-and-half. Add mixture to the simmering soup. Allow to simmer for 15 to 20 minutes. Check seasoning and add more salt or pepper if necessary.
Just before serving, place the sour cream in a serving bowl or soup tureen. Add two to three ladles of hot soup into the tureen and stir to combine with the sour cream. Pour in remaining soup and stir.
Serve immediately.
 Original post available here.